Integrating Satori with Jenkins
Once you’ve installed both Satori and Jenkins, you’re ready to integrate Satori-CI into Jenkins by following these steps:
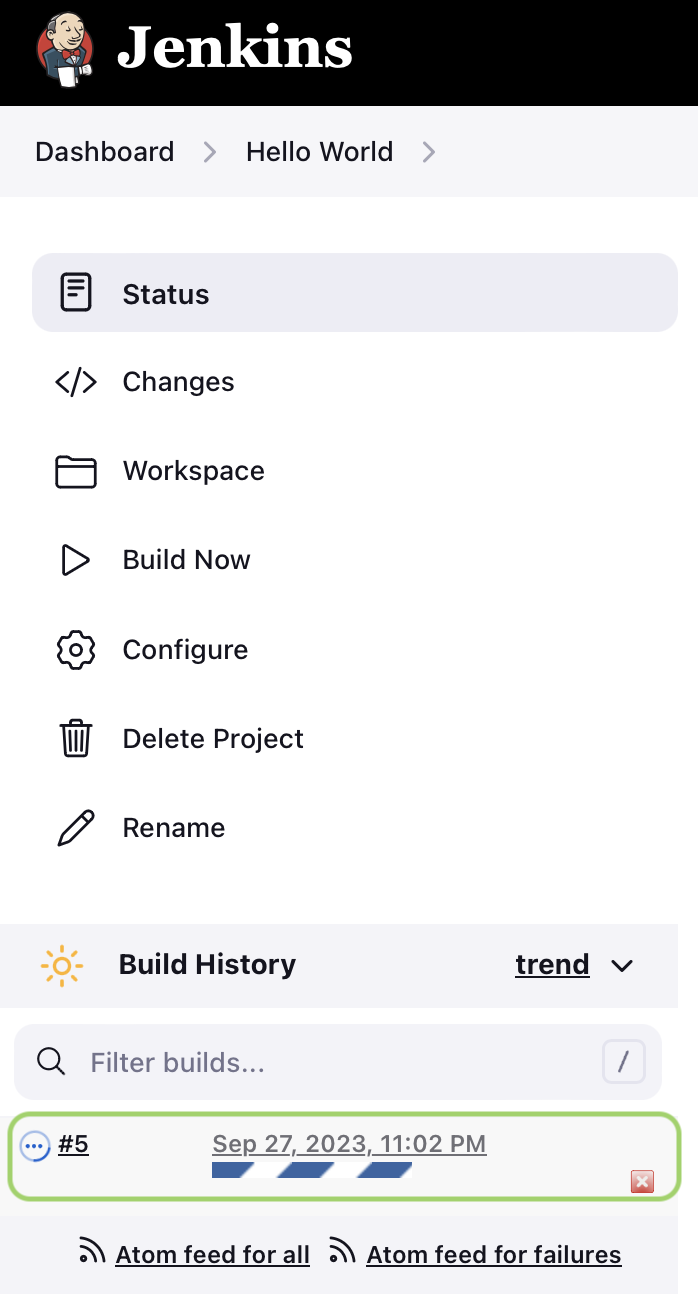
1. Create a new Jenkins project:
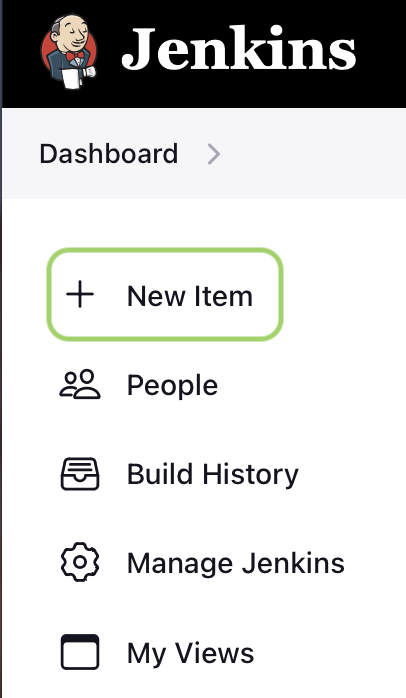
- In the Jenkins dashboard, click on “New Item” at the top left side.
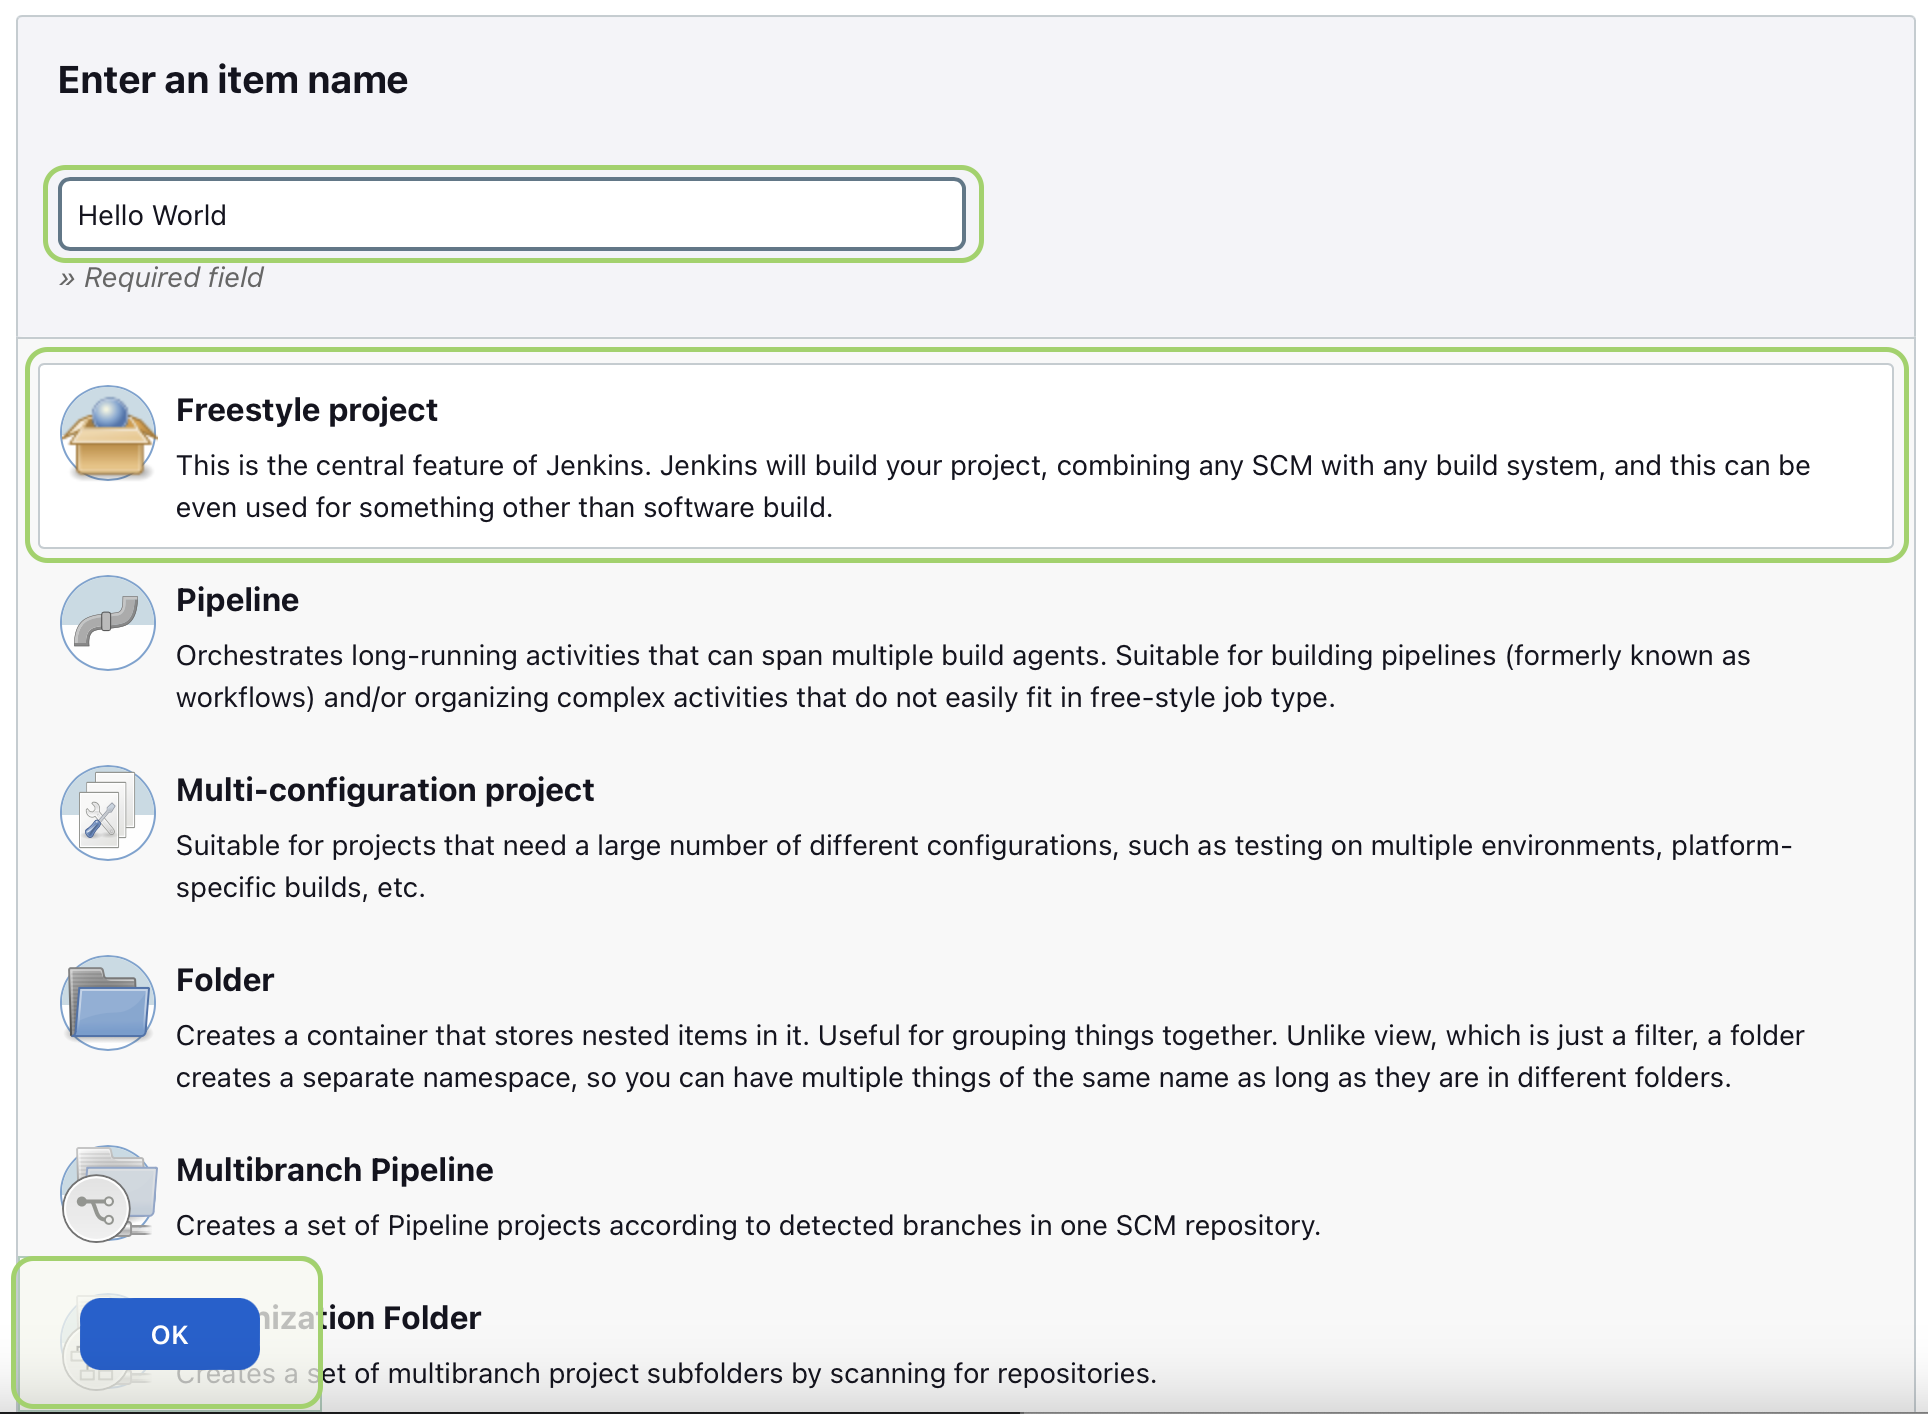
2. Enter project details:
- Name the project: enter a project name.
- Select project type: choose Freestyle Project to create a simple project.
- Click Okay to proceed.
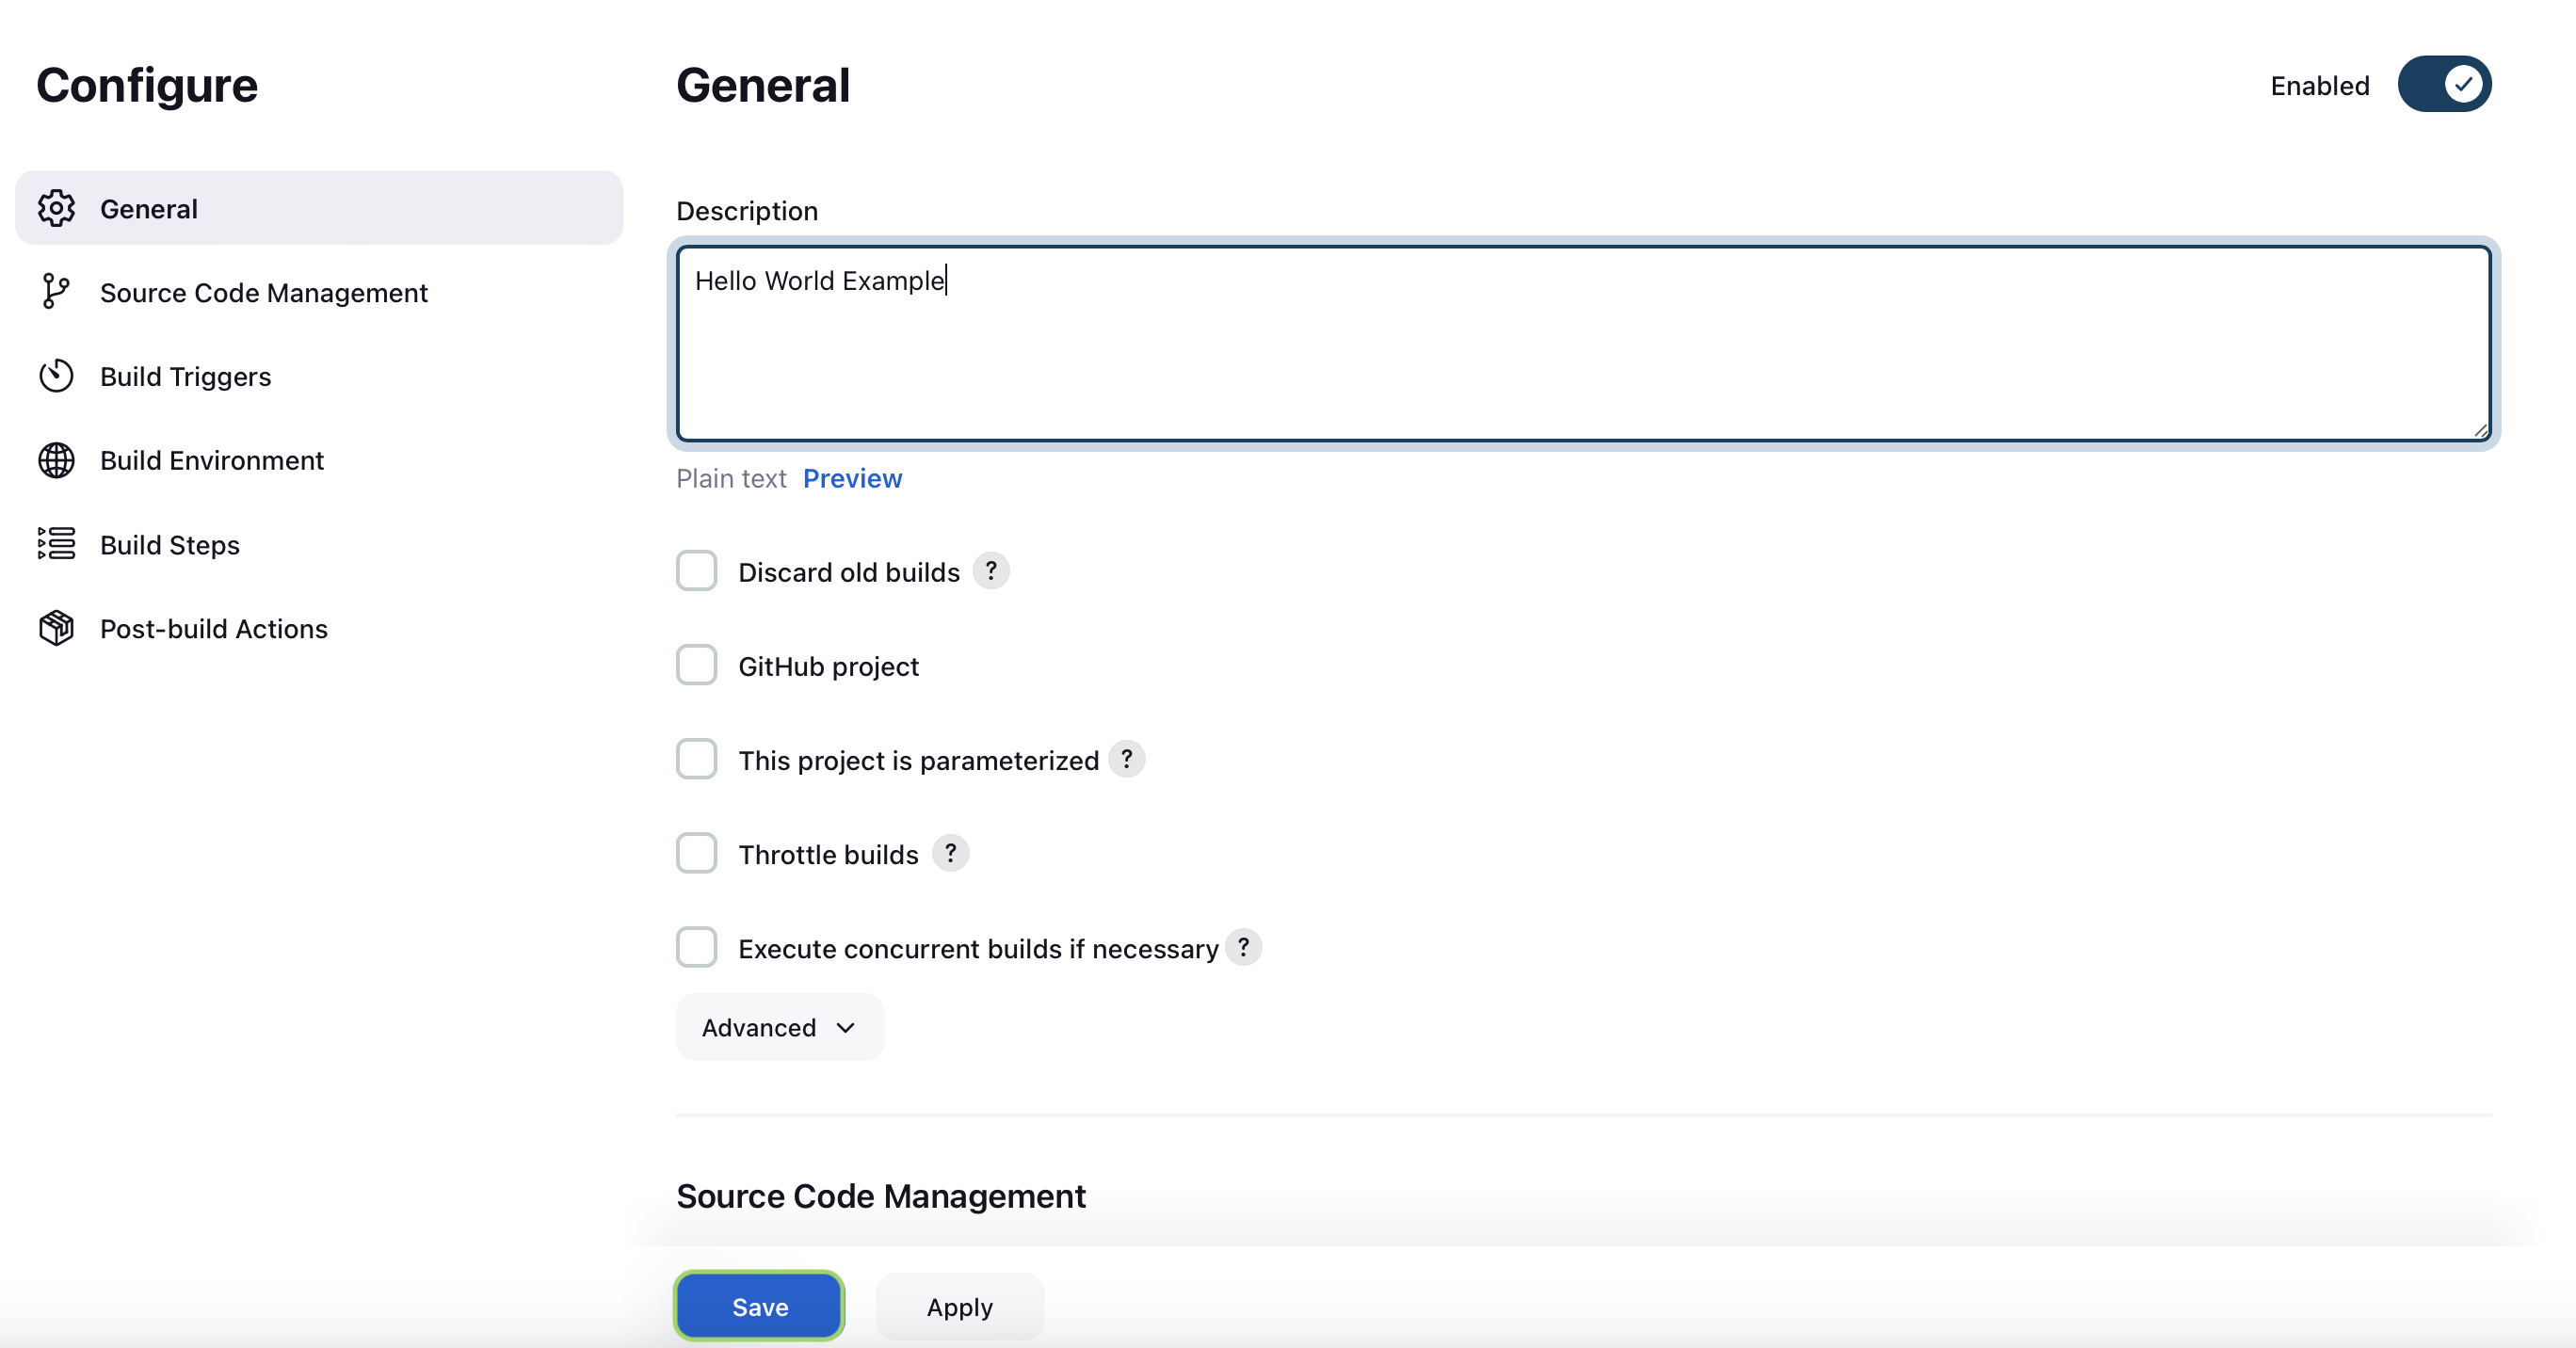
3. Configure additional project details:
You can configure specific details about your project, such as Git repository, build triggers, or environment variables, if needed.
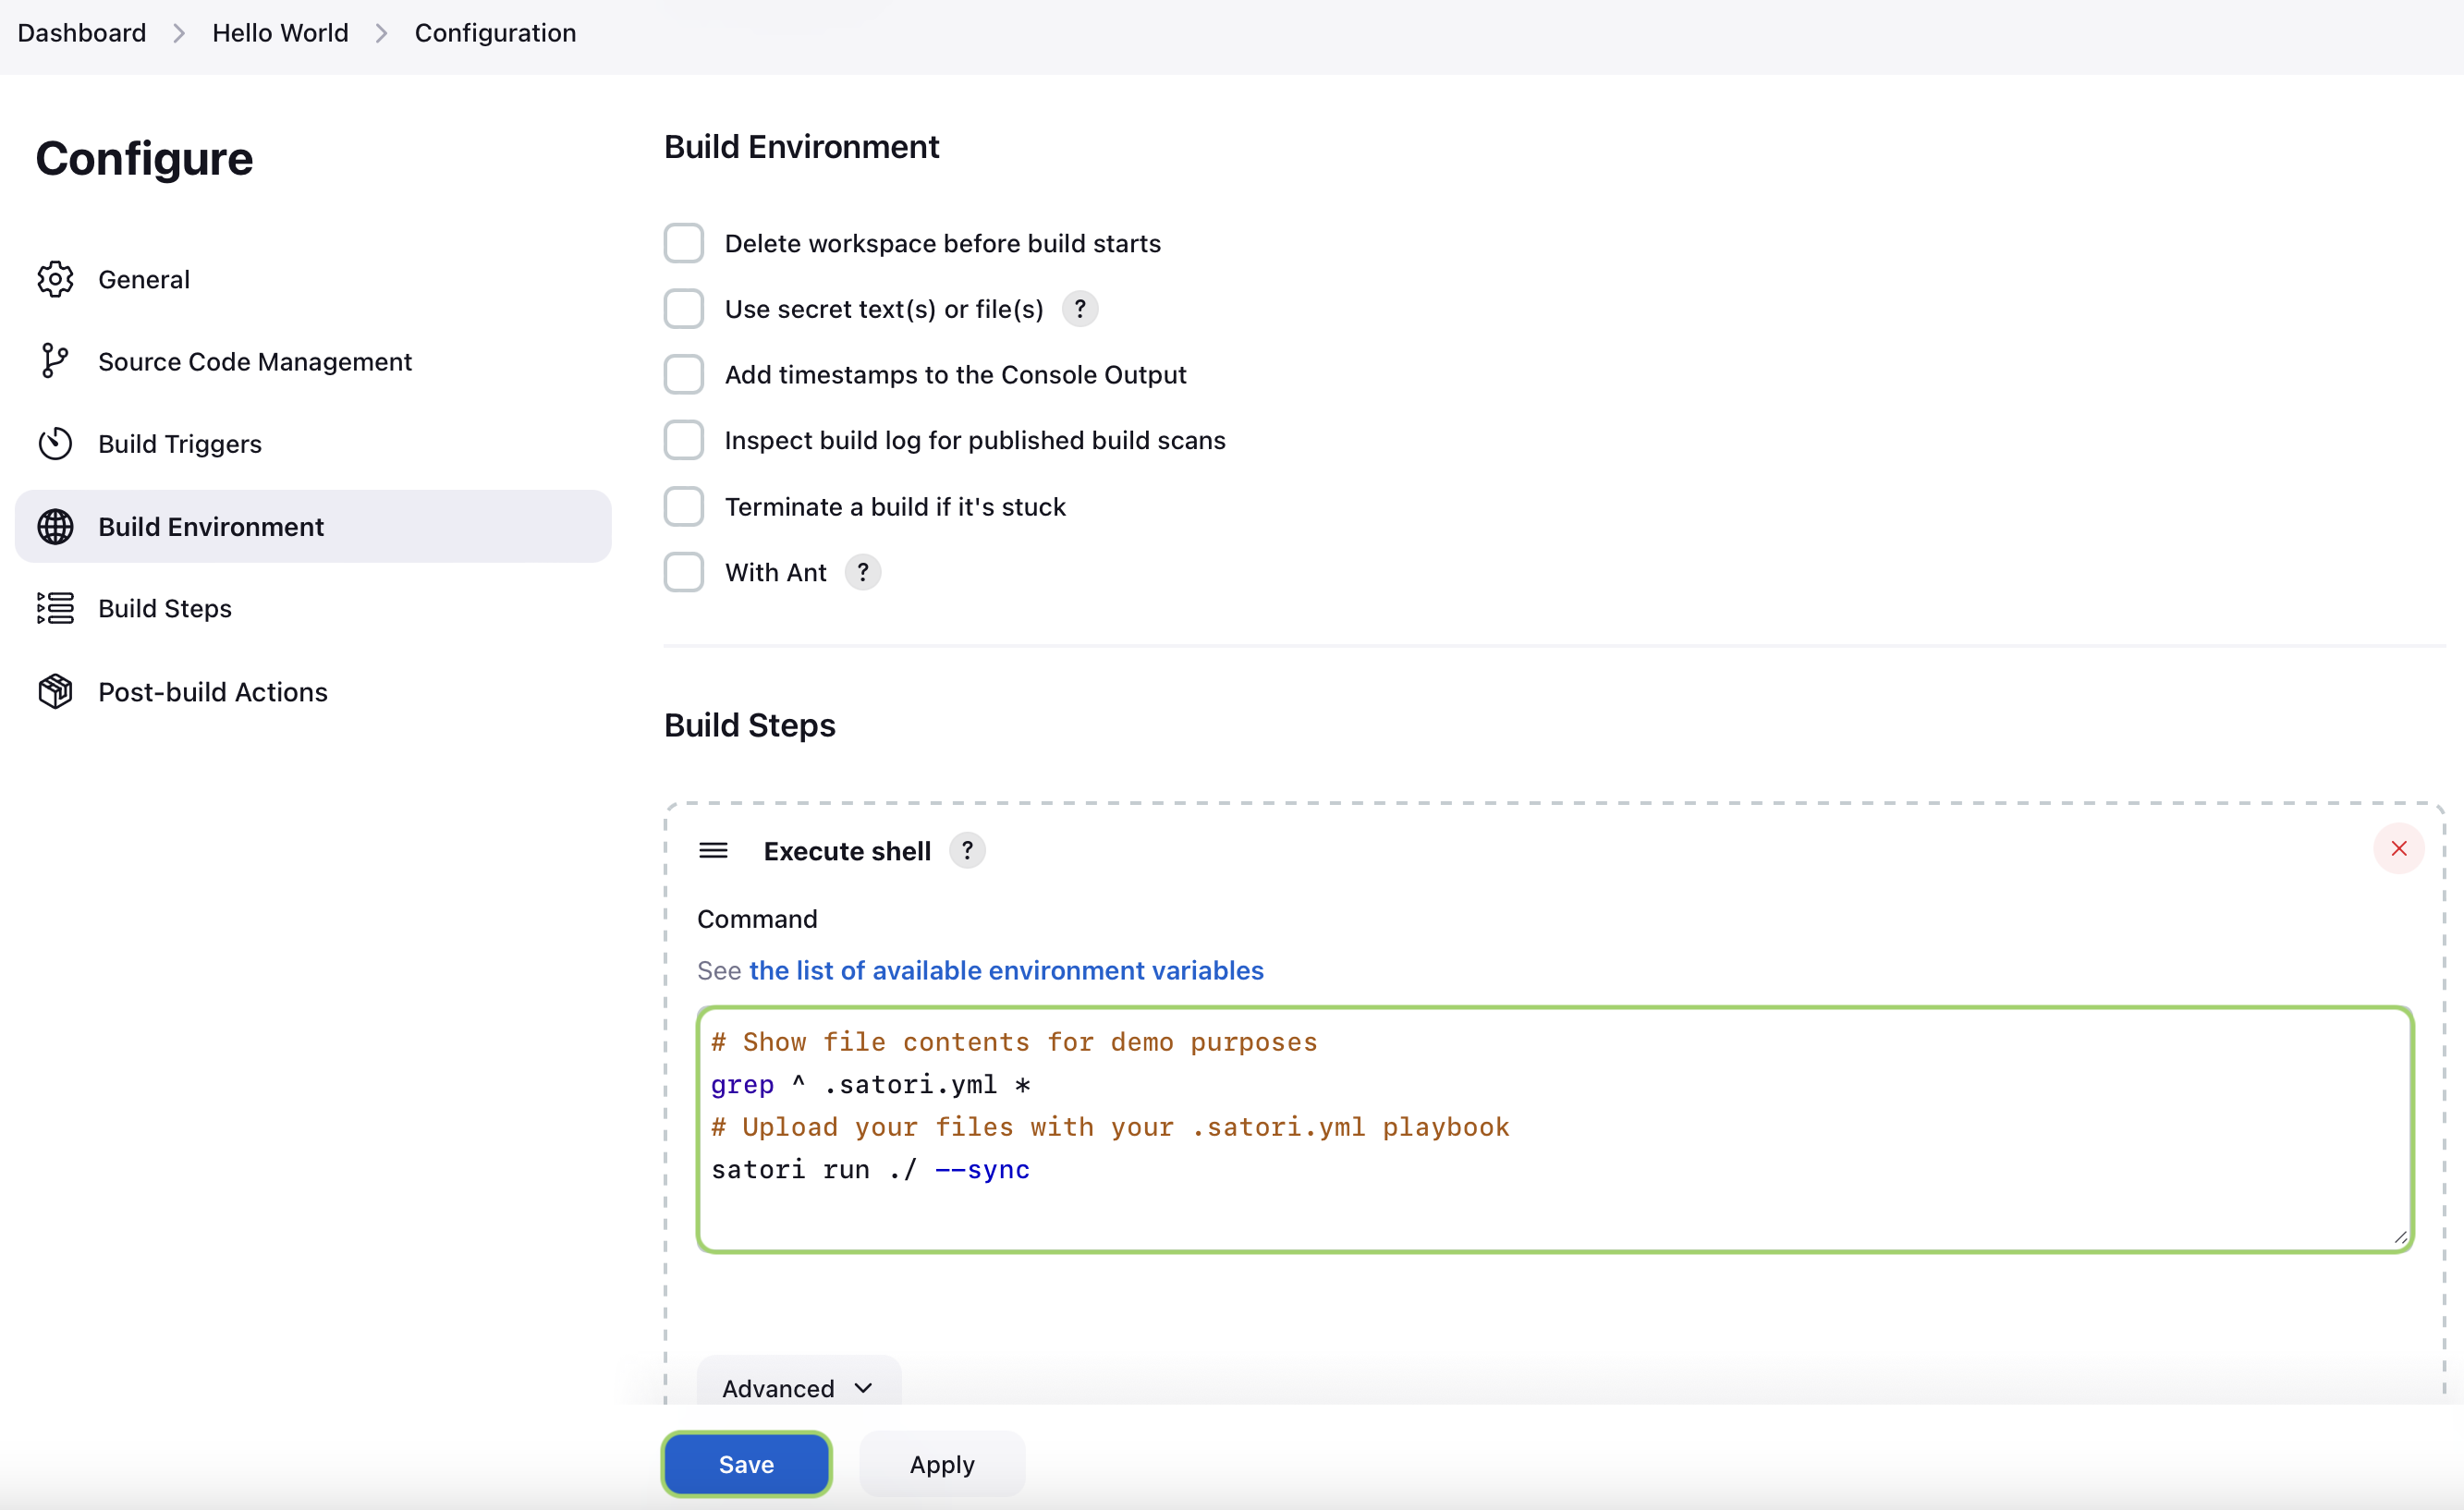
4. Add a build step for Satori:
Go to the Build section of your Jenkins project and edit the command to use the absolute path.
shsatori run ./ --sync
5. Start the Build:
Click on Build Now in your Jenkins dashboard to run the build and trigger the Satori integration.
Configuring the Satori Path in Jenkins
Note: Jenkins may require the absolute path to the satori command. If it doesn’t automatically recognize satori, follow these steps to set the correct path.
Locating the full path to satori:
- Linux/Mac:
- Open your terminal and run:sh
whereis satori - Copy the full path displayed (e.g.,
/usr/local/bin/satori).
- Open your terminal and run:
- Windows:
- Open cmd and use:cmd
where satori - Copy the full path to
satori.exedisplayed in the output (e.g.,C:\Program Files\Satori\satori.exe).
- Open cmd and use: